
How Custom Pins Are Made From Start to Finish
Custom pins have become one of the most popular branding and fashion accessories for businesses, sports teams, events, schools, and collectors. From corporate branding to creative merchandise, custom pins offer a professional and long-lasting way to showcase designs. Understanding how custom pins are made helps businesses and customers choose the right style, material, and finish for their needs.
The custom pin manufacturing process combines creative design, precision engineering, metalwork, and quality finishing techniques. Every detail matters because even small adjustments can impact the final appearance and durability of the pin.
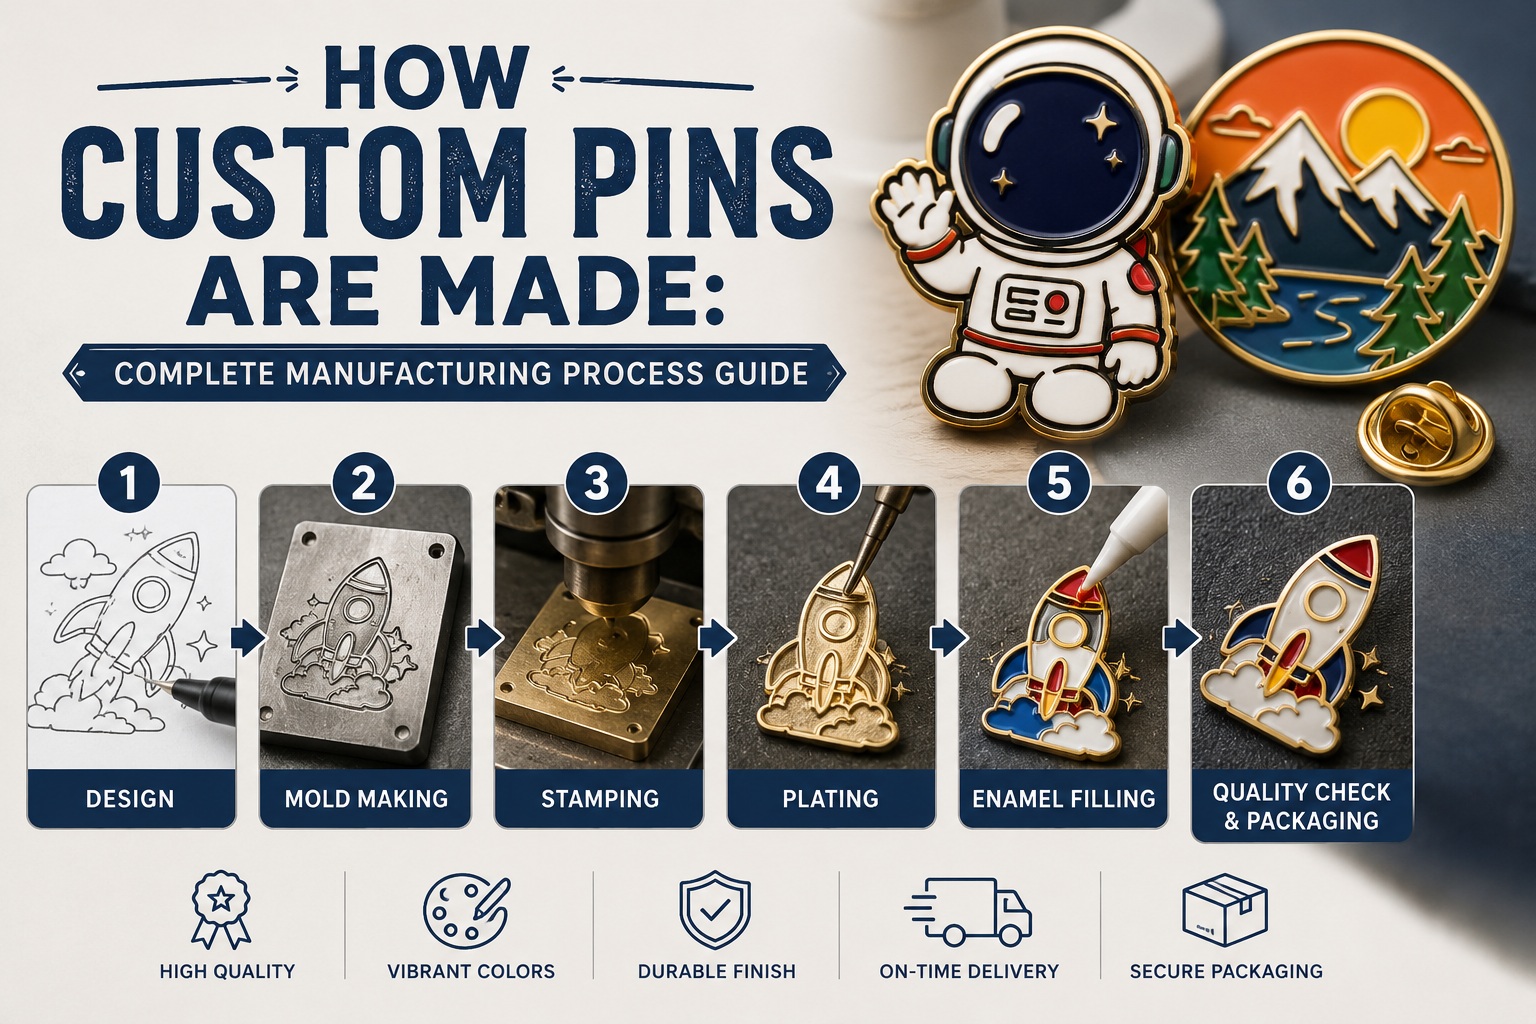
In this complete guide, you will learn how custom pins are made step by step, including the design phase, mold creation, metal stamping, coloring, plating, polishing, and packaging.
What Are Custom Pins?
Custom pins are small decorative metal accessories designed with logos, artwork, symbols, or text. Manufacturers produce them using metal materials such as iron, brass, zinc alloy, or copper. These pins can feature enamel colors, embossed effects, printed artwork, or 3D elements depending on the design requirements.
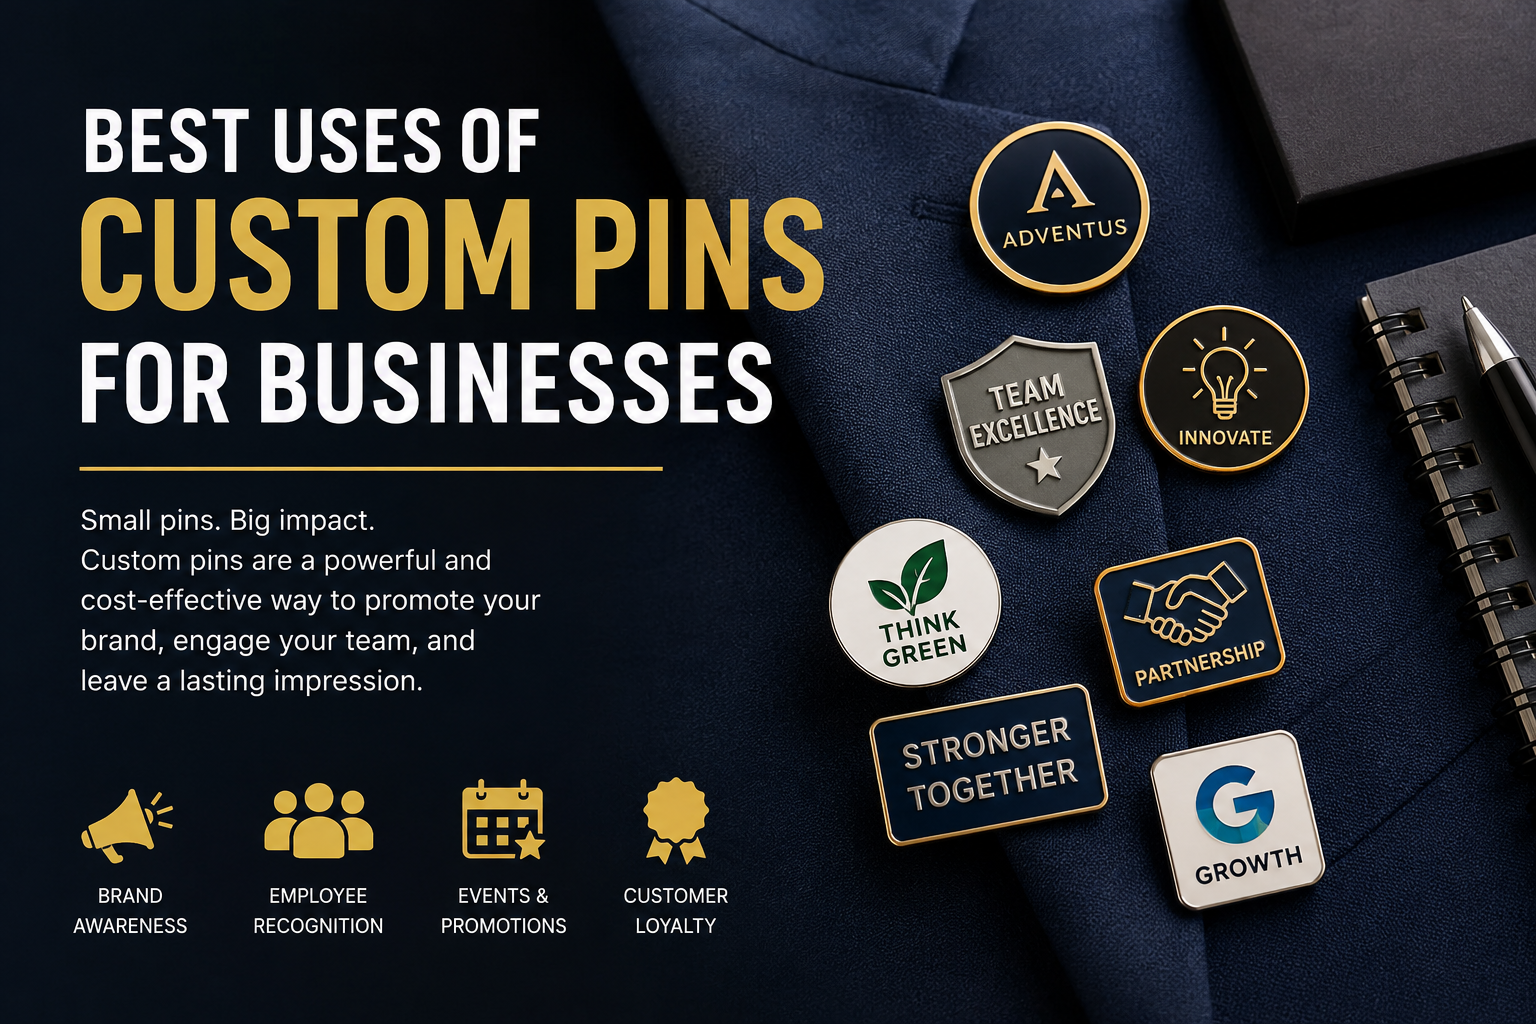
Businesses often use custom pins for branding campaigns, employee recognition, promotional giveaways, and event merchandise. Fashion brands and creators also use them for collectible products and personal expression.
Popular custom pin types include:
- Soft enamel pins
- Hard enamel pins
- Die struck pins
- 3D molded pins
- Printed pins
- Offset epoxy pins
If you want to understand the difference between enamel styles, you can internally link this section to a guide about soft enamel vs hard enamel pins.
Step 1: Creating the Custom Pin Design
The first step in the custom pin manufacturing process is creating the artwork. Designers prepare a digital illustration that includes every detail of the final pin, including dimensions, colors, borders, textures, and attachment styles.
Professional manufacturers usually request vector files such as AI, EPS, or PDF because vector graphics maintain sharp quality during production.
A custom pin design must consider several factors:
The size of the pin affects the amount of detail possible. Small pins require simplified artwork because intricate elements may become difficult to produce clearly. Designers also need to define metal lines because enamel colors sit between raised metal borders.
Color selection is equally important. Most manufacturers use Pantone Matching System colors to ensure accurate branding consistency.
During this stage, the manufacturer also creates a digital proof. This proof allows customers to review the final design before production begins.
Step 2: Making the Pin Mold
After design approval, manufacturers create a metal mold or die. This mold contains the exact shape and details of the custom pin artwork.
The mold functions like a stamp that presses the design into metal sheets. Skilled engravers use CNC machines or laser engraving equipment to carve the design into hardened steel.
The mold creation stage is critical because it determines the precision and quality of every pin produced afterward. High-quality molds help achieve sharper lines, better textures, and cleaner finishes.
Complex 3D custom pins require deeper and more advanced mold engraving techniques because they contain layered surfaces and sculpted details.
Step 3: Stamping or Casting the Metal
Once the mold is ready, the actual metal forming process begins. Manufacturers choose either die striking or die casting depending on the pin style.
Die Striking Process
Die striking involves placing metal sheets under high pressure to imprint the design using the steel mold. This process is common for soft enamel pins, hard enamel pins, and die struck pins.
The metal sheet passes through heavy industrial machinery that stamps the design with force. The result is a raised and recessed metal structure that forms the foundation of the pin.
Die Casting Process
Die casting is commonly used for highly detailed or 3D custom pins. In this method, molten metal fills a mold cavity and hardens into shape.
Zinc alloy is often preferred for die casting because it handles intricate details more effectively than iron or brass.
This stage gives the custom pin its physical shape and structural design.
Step 4: Cutting and Trimming the Pins
After stamping or casting, manufacturers cut each pin from the metal sheet. Specialized cutting tools remove excess metal around the edges.
Workers then inspect the pin shape carefully to ensure smooth outlines and accurate dimensions.
At this stage, unfinished pins may still contain rough edges or sharp corners. Manufacturers smooth these imperfections through grinding and polishing processes.
Proper trimming improves both appearance and safety while preparing the pins for coloring and finishing.
Step 5: Plating the Custom Pins
Plating is one of the most important stages in custom pin production because it determines the metal finish and overall visual appeal.
Manufacturers place the pins into electroplating solutions that coat the metal surface with decorative finishes.
Popular plating options include:
Gold plating creates a luxurious appearance suitable for premium branding and awards. Silver plating provides a modern and professional finish. Black nickel plating delivers a sleek contemporary look often used for fashion pins. Copper plating offers a vintage aesthetic with warm metallic tones.
Some manufacturers also offer dual plating or antique finishes for unique visual effects.
The plating layer protects the metal from corrosion while enhancing durability and shine.
Step 6: Adding Enamel Colors
Once plating is complete, manufacturers fill the recessed areas with enamel paint. This stage transforms the raw metal pin into a colorful finished product.
Soft Enamel Pins
Soft enamel pins contain recessed enamel areas with raised metal lines. After filling the colors, manufacturers bake the pins to harden the enamel.
The final surface has a textured feel because the metal borders remain slightly higher than the enamel paint.
Soft enamel pins are popular because they offer vibrant colors, affordable pricing, and excellent detail visibility.
Hard Enamel Pins
Hard enamel pins undergo multiple polishing and baking stages until the enamel becomes level with the metal lines.
The result is a smooth and polished surface with a jewelry-like appearance. Hard enamel pins typically provide greater durability and scratch resistance.
Choosing between soft and hard enamel depends on budget, style preferences, and intended usage.
Step 7: Baking and Drying Process
After enamel filling, manufacturers place the pins into industrial ovens for curing.
The baking process hardens the enamel and strengthens the color adhesion. Different enamel types require specific temperatures and curing times to achieve maximum durability.
Proper curing ensures the colors remain vibrant over time without cracking or fading easily.
This step also prepares the pins for final polishing and quality inspection.
Step 8: Polishing and Surface Finishing
Polishing enhances the overall appearance of the custom pins. Workers buff the metal surface to create shine and smoothness.
Hard enamel pins require extensive polishing because their surface must become perfectly flat and glossy.
Manufacturers may also apply protective coatings such as epoxy resin. Epoxy creates a transparent layer over printed designs to improve scratch resistance and durability.
Surface finishing determines whether the final product looks premium, vintage, matte, glossy, or textured.
Step 9: Attaching the Pin Backing
Once the front side is complete, manufacturers attach the backing mechanism to the rear side of the pin.
Common backing styles include:
Butterfly clutch backings are the most widely used because they are secure and cost-effective. Rubber clutches provide additional comfort and safety. Magnetic backings work well for clothing that should not be punctured. Deluxe locking backs offer extra security for valuable or collectible pins.
The backing choice depends on functionality, user preference, and product purpose.
Step 10: Quality Inspection and Packaging
Before shipping, manufacturers conduct detailed quality inspections.
Inspectors check for color accuracy, plating consistency, sharp edges, alignment issues, and attachment strength. Defective pins are removed to maintain quality standards.
High-quality custom pin manufacturers prioritize strict quality control because branding products directly represent a company’s image.
After inspection, workers package the pins individually or in bulk according to customer requirements.
Premium packaging options may include custom backing cards, velvet boxes, or branded retail packaging.
Materials Used in Custom Pin Manufacturing
The material selection affects durability, detail quality, and pricing.
Iron is affordable and commonly used for promotional pins. Brass offers better detail precision and premium quality. Zinc alloy supports complex 3D shapes and die casting applications. Copper delivers a refined finish with strong durability.
Manufacturers recommend different materials depending on design complexity and budget.
Why Businesses Use Custom Pins
Custom pins remain popular because they combine affordability, durability, and branding power.
Businesses use custom pins to increase brand recognition during events and marketing campaigns. Schools and organizations use them for recognition programs and achievements. Fashion brands use enamel pins as stylish accessories and collectible merchandise.
Unlike paper promotions, metal pins provide long-term visibility because people wear and display them repeatedly.
Custom pins also create emotional value because collectors and customers often associate them with memories, communities, and achievements.
How Long Does It Take to Make Custom Pins?
Production timelines vary depending on design complexity, quantity, and finishing requirements.
Most standard custom pin orders take between 7 and 21 days after design approval. Complex 3D designs or large bulk orders may require additional production time.
Rush production services are available through many manufacturers for urgent projects.
Choosing the Right Custom Pin Manufacturer
Selecting the right manufacturer is essential for achieving high-quality results.
Reliable manufacturers provide transparent communication, design assistance, Pantone color matching, durable materials, and strong quality control processes.
Businesses should review previous samples, customer reviews, and production capabilities before placing large orders.
Working with experienced custom pin manufacturers ensures better consistency and professional finishing.
Final Thoughts on How Custom Pins Are Made
Understanding how custom pins are made helps businesses and creators make informed decisions about design, materials, and finishing options.
From digital artwork and mold engraving to plating, enamel filling, polishing, and packaging, every stage contributes to the final product quality. Professional manufacturing techniques ensure custom pins remain durable, visually appealing, and valuable for branding or collecting.
Whether you need promotional pins, employee recognition badges, event merchandise, or collectible enamel pins, choosing the right production method and manufacturer can significantly improve the final outcome.
Custom pins continue to grow in popularity because they combine creativity, branding, and craftsmanship in one compact product.
FAQS
Custom enamel pins are made by creating a metal mold, stamping or casting the design into metal, adding enamel colors, baking the pins, polishing the surface, and attaching pin backings.
Manufacturers commonly use iron, brass, copper, and zinc alloy for custom pin production.
Soft enamel pins have raised metal edges with recessed enamel colors, while hard enamel pins have a smooth polished surface where enamel sits level with the metal.
High-quality custom pins can last for many years because they use durable metal materials and protective plating finishes.
Yes, custom pins are highly effective for branding because they are durable, wearable, collectible, and visually memorable.